How to convert your resume to JSON
CVs have long been (for me anyway) a long list of PDFs of v1. v2-Final, v3 and so on, making it painful to work out which version is the latest and sift through to find the version I’m looking for.
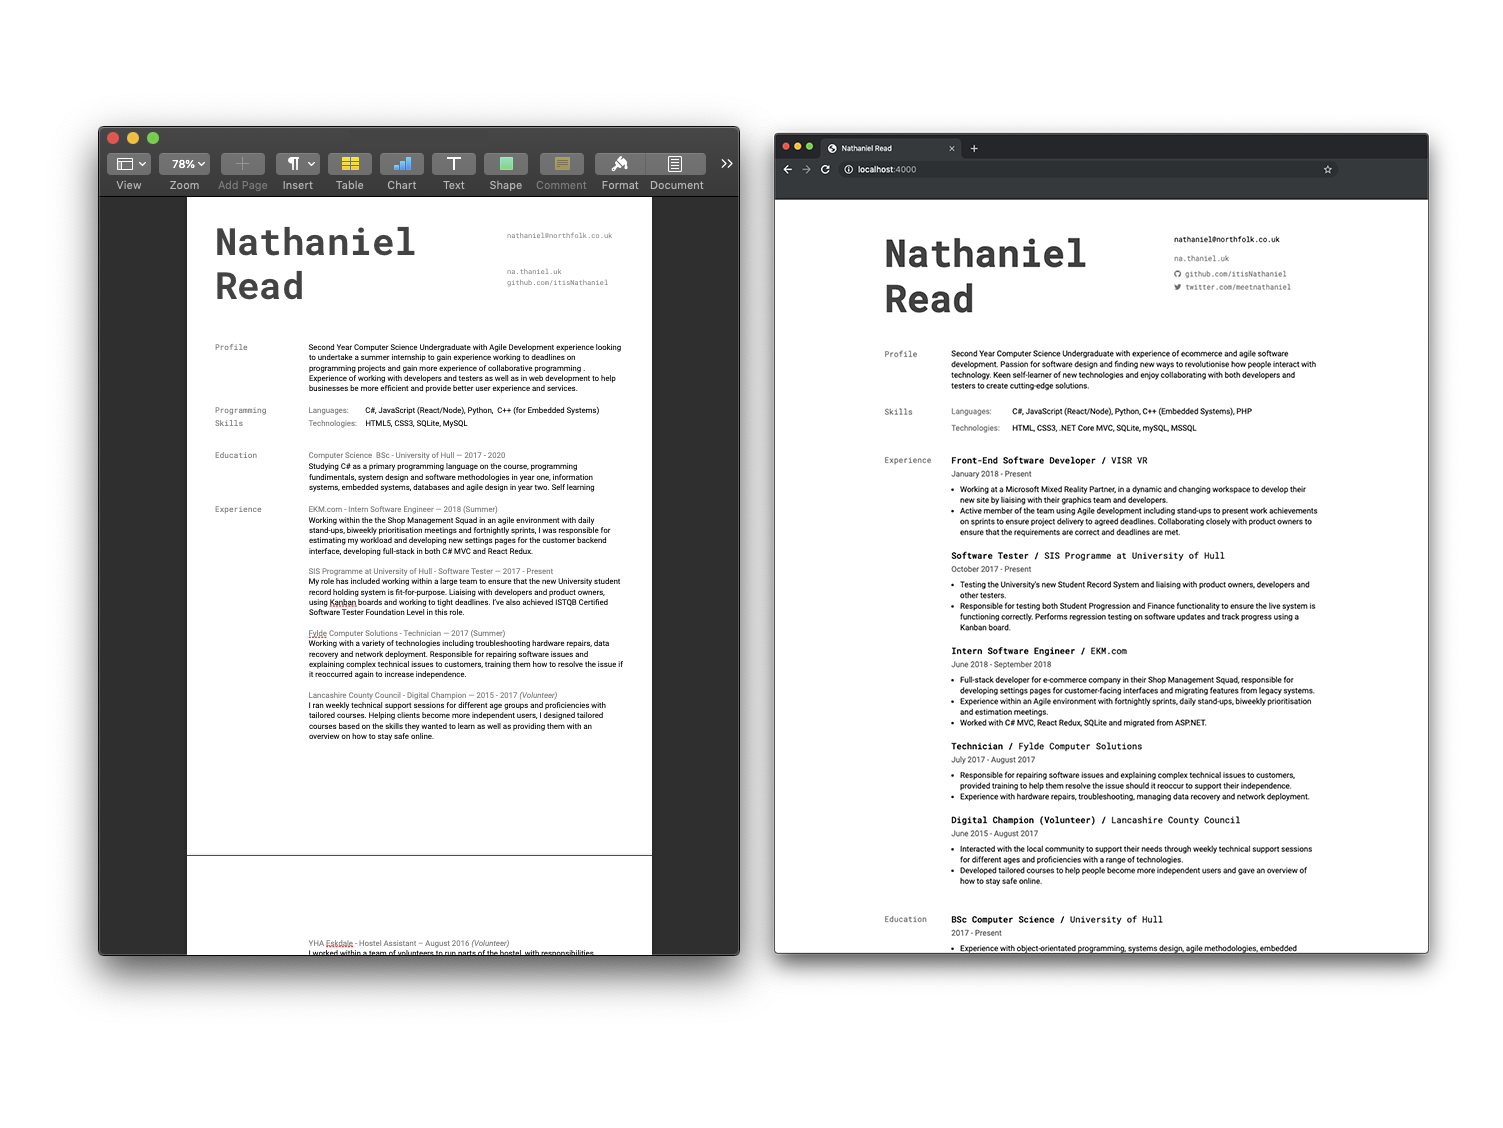
Last year, I migrated my old iWork Pages based CV to JSON to get greater control of both versioning and design of my CV, as well as better compatibility, as Pages files don’t always play nice when converted.
I thought I’d share in this post some of the things I’ve learned along the way, so you don’t have to experience some of the confusing hurdles along the way that I did.
There’s a standard! 📖
The best place to start reading is the standard schema that’s documented here, as it’s just JSON it’s easily expandable you can add categories and take them away to suit your needs. If you’re looking for some examples or inspiration for your design, there’s a load on the site to get you started (although I’d recommend at least tweaking and updating them to fit your brand).
Get Started ✅
For building locally, I’d recommend getting started using the boilerplate theme which gives you a super basic setup with partials preconfigured to allow you to build up easily. The theme uses handlebars to render the partials, meaning if you decide to add a new partial for a new section, you just need to append a {{> partialname }} to resume.hbs.
To build your partials, it’s super nice too as it just uses handlebars conditionals (pretty similar to the ones used in liquid for Jekyll blogs), you can read more about them here and see the example below:
{{#if website}}

<div class="website">
<a href="{{website}}">{{website}}</a>
</div>
{{/if}}
You can then just add all your different sections, style it with CSS as you would a normal site (or SASS if you want to compile it). When you’re going along you can preview it live in the command line with resume serve and when you’re done, preview it in a browser and print it to PDF. I’ve found exporting by print to be the most effective way of exporting, as the built-in PDF export can be a bit flakey.
The boilerplate theme’s getting started guide on GitHub is pretty good, and if you’ve got NPM installed globally - it’s pretty much sudo npm install -g resume-cli and serve.
Git on it 🗂
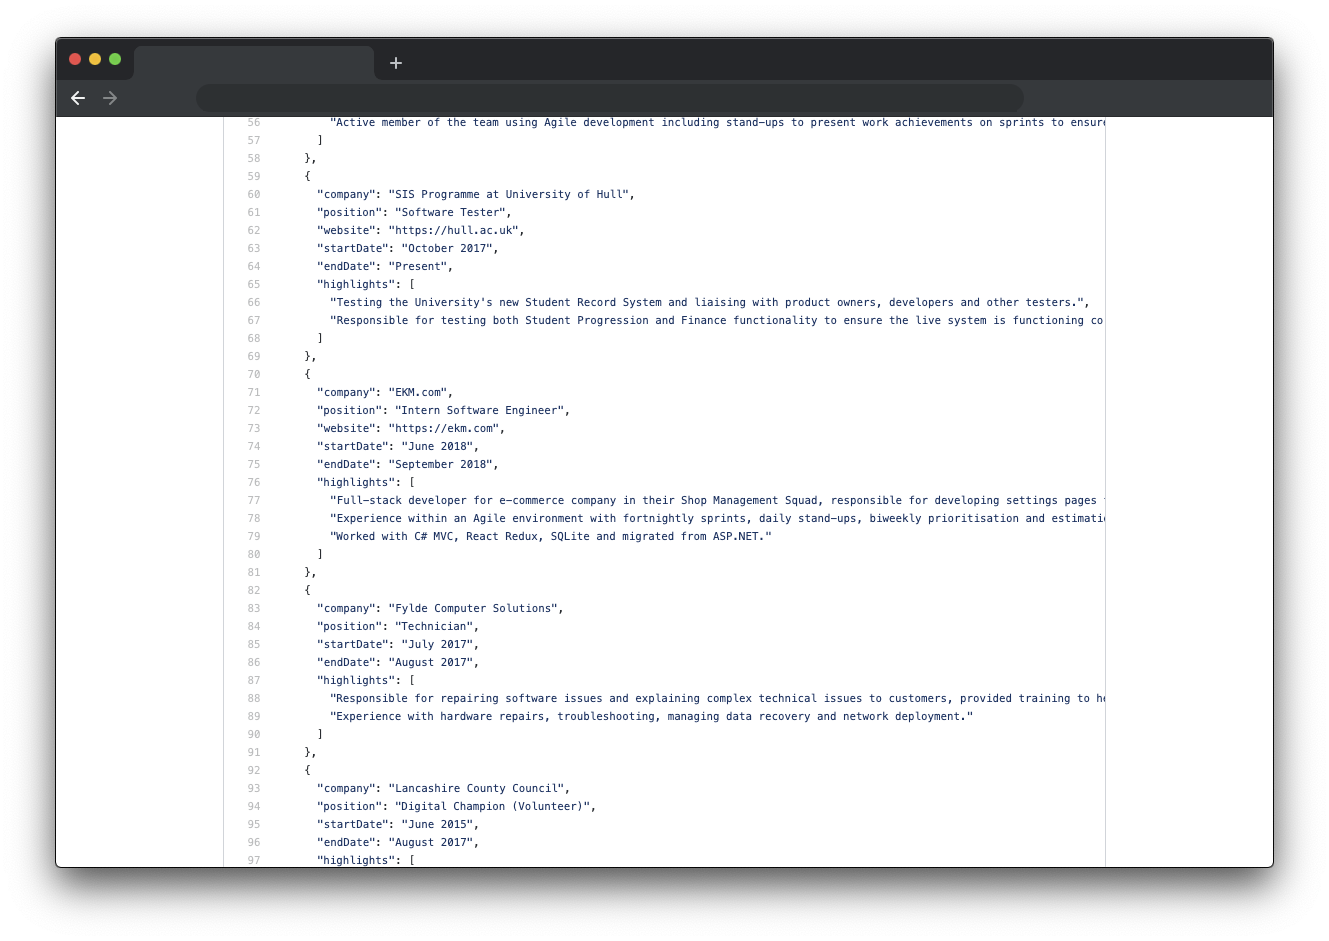
When you’re done (or as you’re going along), make sure you commit your CV to version control (whether GitHub, somewhere else or self-hosted).
Having every version stored in the repository history is great, as content revisions are only to the resume.json file, you can see exactly what changed in every update as you look back so you can see exactly what version you sent out.
Always have a PDF option 📄
It’s pretty neat hosting your own resume as HTML, I agree. However, if you’re going to distribute it, you should always give an option for your users to download it. Don’t rely on the user printing from the web or saving as a PDF, as web browsers are so inconsistent it almost certainly won’t look as you thought it did when they export it. Control your brand and make sure your recipients see what you want them to!